seam allowance guide
Seam allowance is the extra fabric between the stitching line and the raw edge, ensuring proper fit and allowing for adjustments․ It is essential for professional results․
1․1 Definition of Seam Allowance
Seam allowance refers to the extra fabric added between the stitching line and the raw edge of a pattern piece․ It ensures proper fit, allows for adjustments, and facilitates smooth sewing․ Typically measured in fractions of an inch, standard seam allowances vary by pattern type, with common measurements like 1/2 inch for general seams and 1/4 inch for delicate areas․ This additional space is crucial for professional results and ease of construction, as it accommodates techniques like grading and serging․ Accurate seam allowance ensures garments fit well and look polished․
1․2 Importance of Seam Allowance in Sewing
Seam allowance is vital for achieving a professional finish in sewing․ It provides room for fitting adjustments, ensuring garments are neither too tight nor too loose․ Proper seam allowances accommodate fabric bulk, prevent fraying, and allow for techniques like grading․ They also enable smooth construction, reducing puckering and misalignment․ Accurate seam allowances ensure durability and comfort, making them essential for both functional and aesthetic purposes in sewing projects․

Understanding Seam Allowance Measurements
Seam allowance measurements vary, typically ranging from 1/4 to 1/2 inch․ Standard sizes ensure consistent construction, while variations accommodate fabric type and project complexity․
2․1 Standard Seam Allowances
Standard seam allowances typically range from 1/4 inch to 1/2 inch, providing a consistent margin for sewing․ A 1/2-inch allowance is common for general seams, offering ease for adjustments․ However, specific areas like necklines often use a 1/4-inch allowance to minimize bulk․ These measurements ensure proper fit and finish, allowing for alterations if needed․ Maintaining consistency is crucial for professional results, as varying allowances can lead to construction issues․
2․2 Variations in Seam Allowance Based on Fabric Type

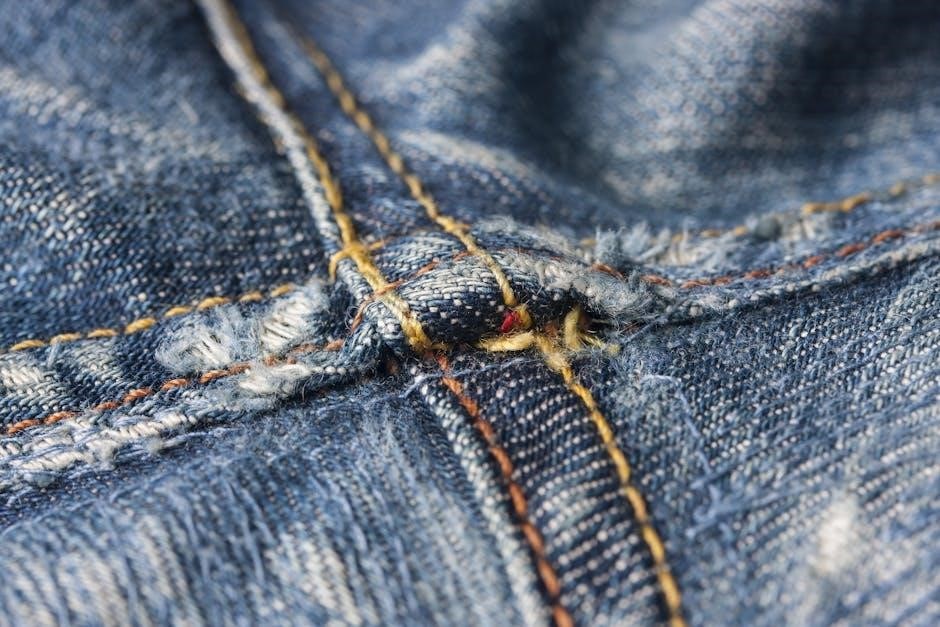
Seam allowances vary depending on fabric type to ensure optimal results․ Heavier fabrics like denim often require larger allowances, while delicate fabrics may need smaller ones to prevent bulk․ For example, quilting cotton typically uses a 1/4-inch allowance, whereas stretch fabrics may need slightly larger to accommodate movement․ Adjusting the allowance based on fabric weight and texture ensures smooth sewing and professional finishes․ This customization prevents excessive fabric in seams and maintains structural integrity, especially in curved or complex patterns․

Tools and Techniques for Measuring Seam Allowance
Essential tools include a quarter-inch foot and seam gauge․ Techniques involve aligning fabric edges with guide lines and consistent stitching for precise, accurate measurements every time․
3․1 Essential Tools for Accurate Measurement
The quarter-inch foot and seam gauge are indispensable for precise seam allowances․ A ruler ensures accurate alignment, while a cutting mat aids in adding allowances uniformly․ These tools prevent errors, ensuring consistent results across various fabrics․ Proper use enhances precision, avoiding common mistakes like uneven allowances․ Regular calibration of tools guarantees reliability․ By mastering these tools, sewists maintain professional standards and achieve flawless seams every time․ Accurate measurement is foundational to successful sewing projects, making these tools essential for every sewer․
3․2 Tips for Consistent Seam Allowance Measurement
Consistency is key to accurate seam allowance measurement․ Always use a quarter-inch foot or seam guide aligned with your machine’s edge․ Test on scrap fabric to ensure precision․ For uniform results, align fabric edges with the guide lines on your sewing machine․ Double-check measurements before cutting to avoid errors․ Regularly inspect your tools for accuracy, as wear and tear can affect results; Maintaining consistent seam allowances ensures professional-looking finishes and proper fit in garments․ Patience and practice refine this skill, making it a cornerstone of successful sewing projects․

Adding Seam Allowance to Patterns
Adding seam allowance ensures proper fit and ease of sewing․ Use pattern tools or software for accuracy, ensuring consistent measurements for professional results always․
4․1 Step-by-Step Guide to Adding Seam Allowance
To add seam allowance, start by identifying the pattern’s edges․ Measure and mark the desired allowance using a ruler or pattern software․ For consistency, align the fabric edge with the guide lines on your sewing machine or cutting mat․ Transfer the markings to each pattern piece, ensuring accuracy․ Double-check measurements to avoid errors․ This method ensures a professional finish and ease in sewing․
4․2 Using Software for Precision
Using software for adding seam allowance enhances accuracy and efficiency․ Many programs allow you to automatically adjust patterns with preset allowances, ensuring consistency․ Digital tools enable real-time editing, making it easy to visualize adjustments․ For complex designs, software can calculate precise measurements, reducing errors․ Additionally, some platforms integrate with cutting tools, streamlining the process․ This method is ideal for achieving professional results, especially for intricate patterns or large-scale projects․ It simplifies the process, saving time and ensuring flawless seams․
Sewing with Different Seam Allowances
Mastering various seam allowances enhances sewing versatility․ Different projects require specific allowances, ensuring optimal fit and durability․ This section explores techniques for adjusting and sewing with precision․
5․1 Sewing Techniques for Various Allowances
Different seam allowances require tailored techniques for accuracy․ For standard 1/2″ seams, align fabric edges carefully․ Scant 1/4″ seams are ideal for quilting, ensuring minimal fabric intake․ When working with thicker fabrics, increase the allowance to accommodate bulk․ Using specialized presser feet can help maintain consistent widths․ Always test stitches on scrap fabric to ensure accuracy․ Adjusting seam allowances ensures professional results, whether sewing garments, home decor, or quilts․ Proper alignment and precision are key to mastering various techniques effectively․
5․2 Mastering the Scant Quarter Inch Seam
The scant quarter inch seam is a precise technique often used in quilting to minimize fabric intake․ To master it, align the fabric edge just shy of the 1/4″ guide on your sewing machine․ This slight adjustment prevents excessive fabric consumption, ensuring accurate block sizes․ Use a walking foot or Teflon foot for smooth handling, especially with thick or layered fabrics․ Practice on scrap fabric to maintain consistency, as even a slight variation can affect the final result․ This technique is crucial for achieving professional-looking quilts and precise seams in various projects․

Handling Curves and Corners with Seam Allowance
Curves and corners require careful seam allowance management to maintain smooth transitions and prevent bulkiness, ensuring a polished finish in sewing projects․
6․1 Techniques for Smooth Curves
Sewing smooth curves requires precise handling of seam allowances to avoid distortion․ Use a shorter stitch length and gently guide the fabric, maintaining consistent tension․ Notching or clipping curves carefully ensures the fabric lies flat without puckering․ Steam pressing can help shape the seam allowance evenly․ These techniques ensure smooth, professional-looking curves in garments and home decor projects, making the finished piece both functional and visually appealing․
6․2 Managing Bulk at Corners

Managing bulk at corners involves techniques to reduce excess fabric and ensure smooth seams․ Trimming seam allowances diagonally prevents visible ridges․ Clipping or notching curved corners allows the fabric to lie flat without puckering․ Pressing seams open or using a tailor’s ham can help shape the corner evenly․ These methods minimize bulk, ensuring a clean finish and preventing distortion in the final garment․ Proper handling of corners enhances both the appearance and durability of the seams, making the project more professional and polished․

Common Mistakes to Avoid
Inconsistent seam allowances and not accounting for fabric bulk are common errors․ These mistakes can lead to puckering or misaligned seams, affecting the garment’s fit and appearance․
7․1 Inconsistent Seam Allowance
Inconsistent seam allowances can ruin a project’s precision․ Using varying measurements leads to misaligned seams, puckering, and an unprofessional finish․ Always measure carefully and maintain uniformity across all seams․ This ensures a polished result and proper fit․ Remember, consistency is key to achieving professional-looking garments and home decor items․ Avoid deviations to maintain structural integrity and aesthetics in your sewing projects․
7․2 Not Accounting for Fabric Bulk
Ignoring fabric bulk is a common mistake that can lead to seams being too tight or too bulky․ Thicker fabrics, like denim or fleece, require more space to accommodate their thickness․ Failing to adjust seam allowances for bulk results in puckered seams or restricted movement in garments․ Always consider the fabric type and its thickness when determining seam allowances․ This ensures a smooth, professional finish and prevents distortion․ Properly accounting for bulk guarantees a better fit and a more polished final product․
Understanding seam allowance is crucial for professional sewing results, ensuring proper fit and finish․ Consistent measurement and fabric-specific adjustments guarantee success in every project․
8․1 Summary of Key Points
8․2 Final Tips for Mastering Seam Allowance

To master seam allowance, always pre-measure and mark allowances clearly․ Use a walking foot or Teflon foot for smooth handling of thick or slippery fabrics․ Maintain consistent allowances throughout your project for accuracy․ Press seams flat to ensure a professional finish․ Practice regularly to refine your skills and confidence․ By following these tips, you’ll achieve precise, polished results in your sewing projects, making seam allowance a seamless part of your creative process․