capello alarm clock user guide
Welcome to the Capello Alarm Clock user guide! Capello offers a range of innovative alarm clocks designed to enhance your daily routine with ease and functionality. From dual alarms to USB charging ports, these clocks combine practicality with modern features, ensuring a seamless waking experience. Explore the models and discover how Capello alarm clocks can simplify your mornings.
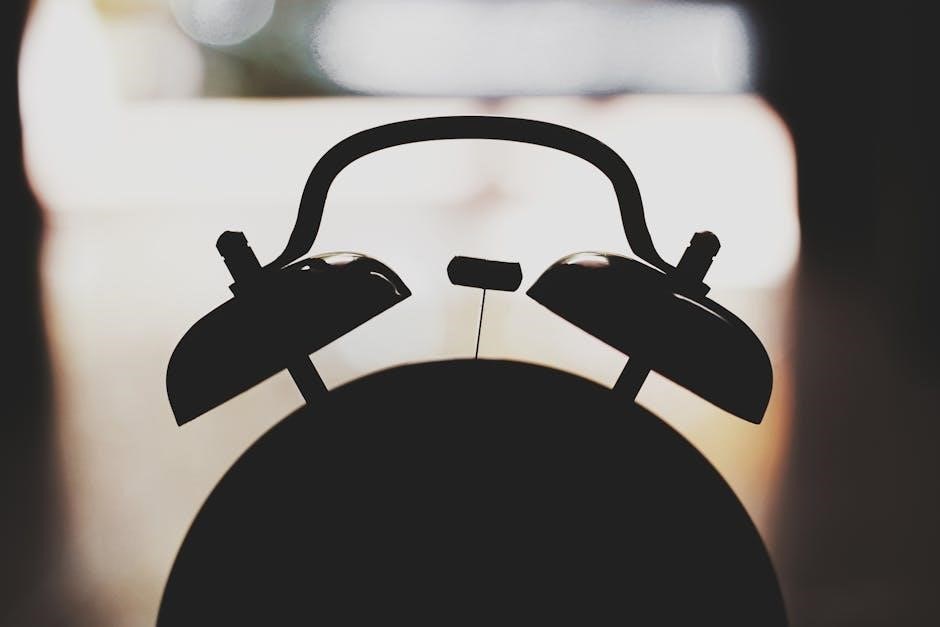
1.1 Overview of the Capello Alarm Clock Models
Capello offers a diverse range of alarm clock models, each designed to meet specific user needs. The CR15 model features a compact design with radio functionality, while the CR21 boasts dual alarms and USB charging ports. The CR10 Glow Clock includes a nightlight for enhanced visibility. Additionally, models like the CR25 and Ci200 provide advanced features such as multiple alarms and customizable settings, ensuring there’s a Capello alarm clock for every preference and lifestyle.
1.2 Key Features of Capello Alarm Clocks
Capello alarm clocks are equipped with a range of features to enhance usability. Models like the CR15 include backup batteries for time accuracy, while the CR21 offers dual USB charging ports for convenient device charging. The CR10 Glow Clock features a built-in nightlight for low-light environments. Many models also include customizable alarm sounds, snooze functionality, and radio capabilities, ensuring a tailored experience for users seeking reliability and convenience in their daily routines;

Safety Precautions and Initial Setup
Ensure safe usage by avoiding water exposure and using batteries correctly. Carefully unbox and inspect the device. Familiarize yourself with accessories before first use.
2.1 Unboxing and Accessories
Upon unboxing your Capello alarm clock, you’ll find the clock itself, an AC power adapter, and a user guide. Some models may include backup batteries for time-keeping during power outages. Ensure all components are undamaged and inspect for any visible defects. The user guide provides detailed instructions for setup and operation. Carefully remove any protective packaging materials before proceeding to power on the device.
2.2 Power Source and Battery Installation
Your Capello alarm clock requires a power source for operation. Connect the provided AC power adapter to a wall outlet (120V AC, 60Hz for most models). The adapter’s output varies by model, such as 7.5V 100mA for the CR15. Backup batteries (typically AAA) maintain time accuracy during power outages. Insert batteries in the compartment located on the clock’s rear, ensuring correct polarity. Refer to your specific model’s guide for exact specifications.
2.3 Initial Configuration and Settings
After unboxing and powering your Capello alarm clock, proceed with initial setup. Plug in the AC adapter to a compatible wall outlet. For models like CR15, ensure the adapter is fully inserted. Locate the time-setting buttons, usually labeled “HOUR” and “MIN,” and press them to set the current time. Use the “ALARM” button to configure wake-up times. Refer to your model’s user guide for specific instructions, as configurations may vary slightly between models like CR21 or CR10. Proper setup ensures accurate timekeeping and reliable alarm functionality.
Setting the Time and Alarms
Set the time by pressing “HOUR” and “MIN” buttons. Configure alarms using the “ALARM” button to select wake-up times. Ensure accuracy for reliable operation.
3.1 Setting the Time Manually
To set the time manually on your Capello alarm clock, press the “HOUR” and “MIN” buttons to adjust the desired time. Use the “+” or “-” symbols to navigate through numbers. Once set, the time will automatically save. Ensure the clock is plugged in or has fresh batteries for accurate timekeeping. This feature is essential for maintaining precise wake-up times and proper alarm functionality across all Capello models, including the CR15, CR21, and CR10.
3.2 Setting a Single Alarm
To set a single alarm on your Capello alarm clock, press the “ALARM” button until the alarm icon appears. Use the “HOUR” and “MIN” buttons to select your desired wake-up time. Press “SET” to save your settings. Ensure the alarm is enabled by checking for the alarm indicator. This straightforward process allows for reliable wake-up times, compatible with models like the CR15, CR21, and CR10, ensuring your mornings start smoothly.
3.3 Setting Multiple Alarms (Dual Alarm Models)
For dual alarm models like the CR21, press the “ALARM” button to toggle between ALARM 1 and ALARM 2. Set each alarm time using the “HOUR” and “MIN” buttons, then press “SET” to save. Enable or disable each alarm by pressing and holding the “ALARM” button. Ensure the alarm indicators are on. This feature allows you to set two separate wake-up times, ideal for different schedules. Test both alarms to confirm functionality and refer to the troubleshooting guide if issues arise.
Advanced Features of Capello Alarm Clocks
Capello alarm clocks offer advanced features like snooze functionality, adjustable nightlights, and USB charging ports for convenient device charging. Explore these features to enhance your experience.
4.1 Using the Snooze Function
The snooze function on Capello alarm clocks allows you to temporarily delay the alarm by a few minutes. Press the snooze button, typically located on the top or side of the clock, to activate this feature. The alarm will pause and resume after the selected snooze duration, which is usually 5-10 minutes, depending on the model. Use this feature to catch a few extra minutes of sleep without disabling the alarm completely.
4.2 Adjusting the Nightlight (Glow Clock Models)
The nightlight on Capello Glow Clock models provides a soft, adjustable glow for convenience in the dark. To adjust the brightness, press and hold the nightlight button on the top or side of the clock. Some models allow you to toggle between high and low brightness settings. The nightlight automatically turns off after a few seconds or stays on continuously, depending on your preference. Ensure the clock is plugged into a power source for consistent nightlight functionality.
4.3 Using the USB Charging Port (Sleep & Charge Models)
Capello Sleep & Charge models feature a convenient USB charging port for your devices. Simply plug your smartphone, tablet, or other USB-compatible device into the port, located on the back or side of the clock. Ensure the clock is connected to a power source for the USB port to function. The port supports standard charging speeds and does not require additional settings. This feature allows you to charge your devices while maintaining the clock’s accuracy and functionality. Always use the provided cable for optimal performance.

Troubleshooting Common Issues
Resolve common issues like time inaccuracies, alarm malfunctions, or power problems by reorienting antennas, checking connections, or consulting the manual for detailed troubleshooting steps.
5.1 Resolving Time Accuracy Problems
Experiencing time accuracy issues with your Capello alarm clock? Ensure the clock is properly plugged into a stable power source. For models with radio presets, reorient the antenna to improve signal reception. If using battery backup, replace expired batteries with fresh AAA cells. Adjust the time manually if necessary, following the user guide instructions. For persistent problems, refer to the troubleshooting section or contact customer support for assistance.
5.2 Fixing Alarm Malfunctions
If your Capello alarm clock isn’t triggering alarms, ensure the alarm is enabled and the correct time is set. Check that the volume is adequate and not muted. Verify that the alarm sound is selected properly. For dual alarm models, confirm both alarms are set and active. If issues persist, reset the clock by unplugging it, waiting 10 seconds, and plugging it back in. Consult the user manual or contact support for further assistance.
5.3 Addressing Power and Battery Issues
First, ensure the alarm clock is properly plugged into a working outlet. Check for loose connections or faulty adapters. If using batteries, verify they are installed correctly and not expired. If the clock isn’t turning on, try resetting it by unplugging it, waiting 10 seconds, and plugging it back in. For battery models, replace the batteries with fresh ones. If issues persist, consult the user manual or contact Capello customer support for further assistance.

Model-Specific Guides
Explore detailed setup instructions for Capello models like CR15, CR21, and CR10. Each guide offers tailored steps to optimize your alarm clock experience effectively.
6.1 Capello CR15 Alarm Clock Setup
The Capello CR15 Alarm Clock setup begins with unboxing and connecting the AC power adapter to a 120V outlet. Insert two AAA batteries for backup. Follow the user guide to set the time and alarms. Use the intuitive controls to customize settings. Ensure proper placement for optimal performance. Refer to the manual for troubleshooting tips and warranty details. This model offers reliable functionality and easy customization for a perfect wake-up experience every day.
6.2 Capello CR21 Dual Alarm Clock Configuration
Setting up the Capello CR21 Dual Alarm Clock involves unboxing and connecting the AC power adapter to a 120V outlet. Insert the backup battery to maintain time accuracy. Use the user guide to configure dual alarms, set the time, and explore additional features like USB charging ports. Refer to the manual for detailed steps on customizing settings and resolving any issues. This model combines dual alarm functionality with modern convenience for a tailored wake-up experience.
6.3 Capello CR10 Glow Clock User Instructions
For the Capello CR10 Glow Clock, start by plugging the AC adapter into a 100-240V outlet. Insert the small end into the DC In Jack on the rear. The night light feature provides a soft glow for easy visibility. Use the backup battery option to maintain time accuracy. Refer to the manual for detailed steps on setting alarms, adjusting brightness, and troubleshooting. Ensure safe usage by following the provided guidelines to avoid electric shock or damage.
Warranty and Customer Support
Capello alarm clocks come with a warranty covering manufacturing defects. For inquiries, contact customer support via phone or website. Troubleshooting guides are also available online.
7.1 Understanding the Warranty Terms
Capello alarm clocks are backed by a warranty that covers manufacturing defects for a specified period. The warranty typically lasts for one year from the date of purchase. It ensures repair or replacement of defective parts free of charge. However, the warranty does not cover damage caused by misuse, tampering, or external factors. For detailed terms and conditions, refer to the warranty section in your user manual or contact Capello customer support.
7.2 Contacting Customer Support
For any inquiries or assistance with your Capello alarm clock, contact customer support at 1-855-896-1795 or visit their official website for additional resources. You can also reach out via email or through the support portal on their site. Ensure you have your product model number and purchase details ready for efficient assistance. Capello’s customer support team is available to address questions, troubleshooting, and warranty-related concerns.